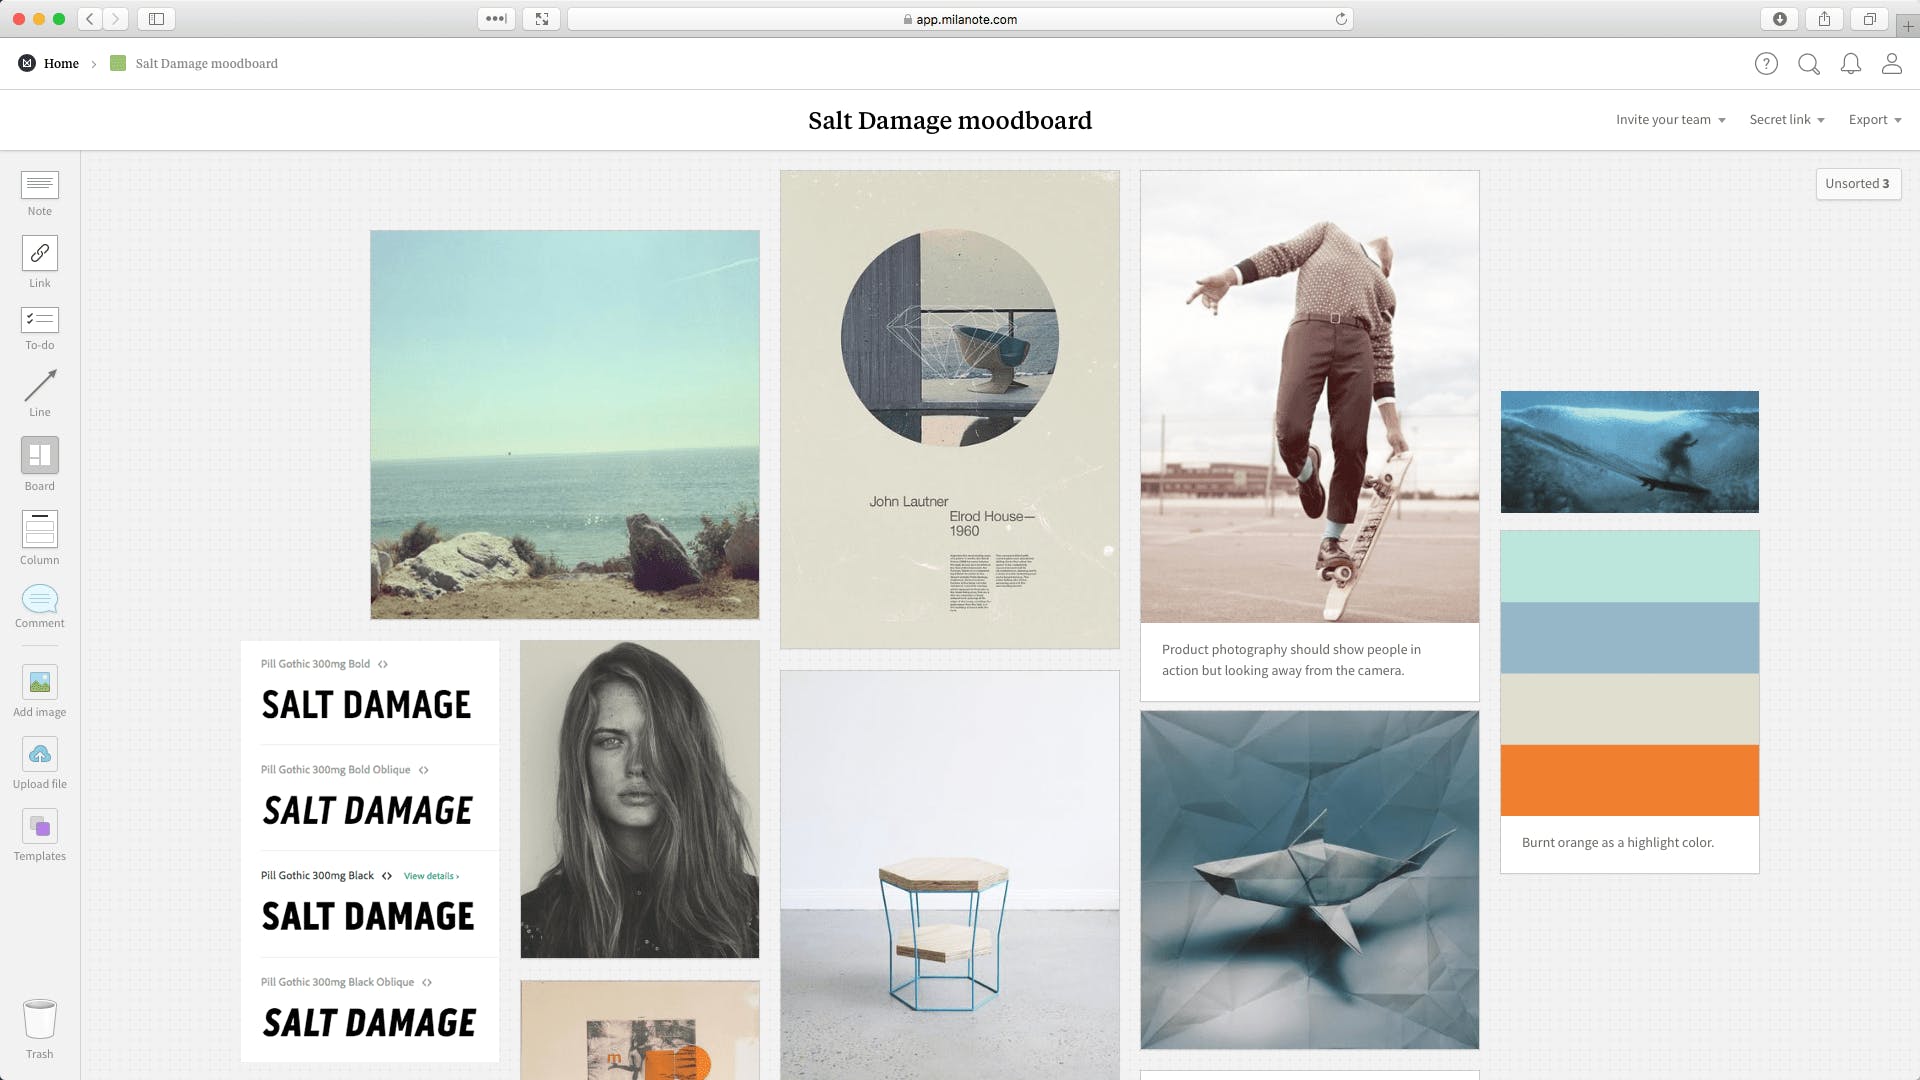
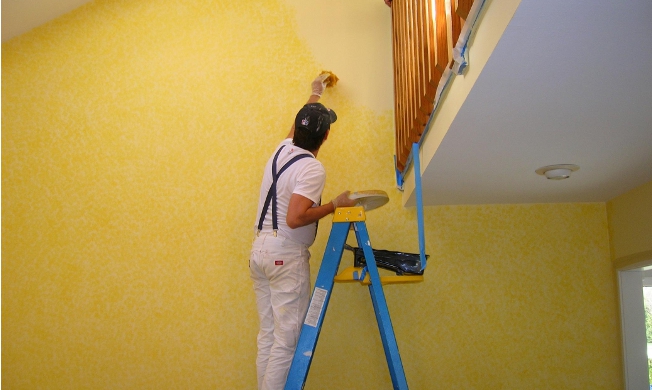
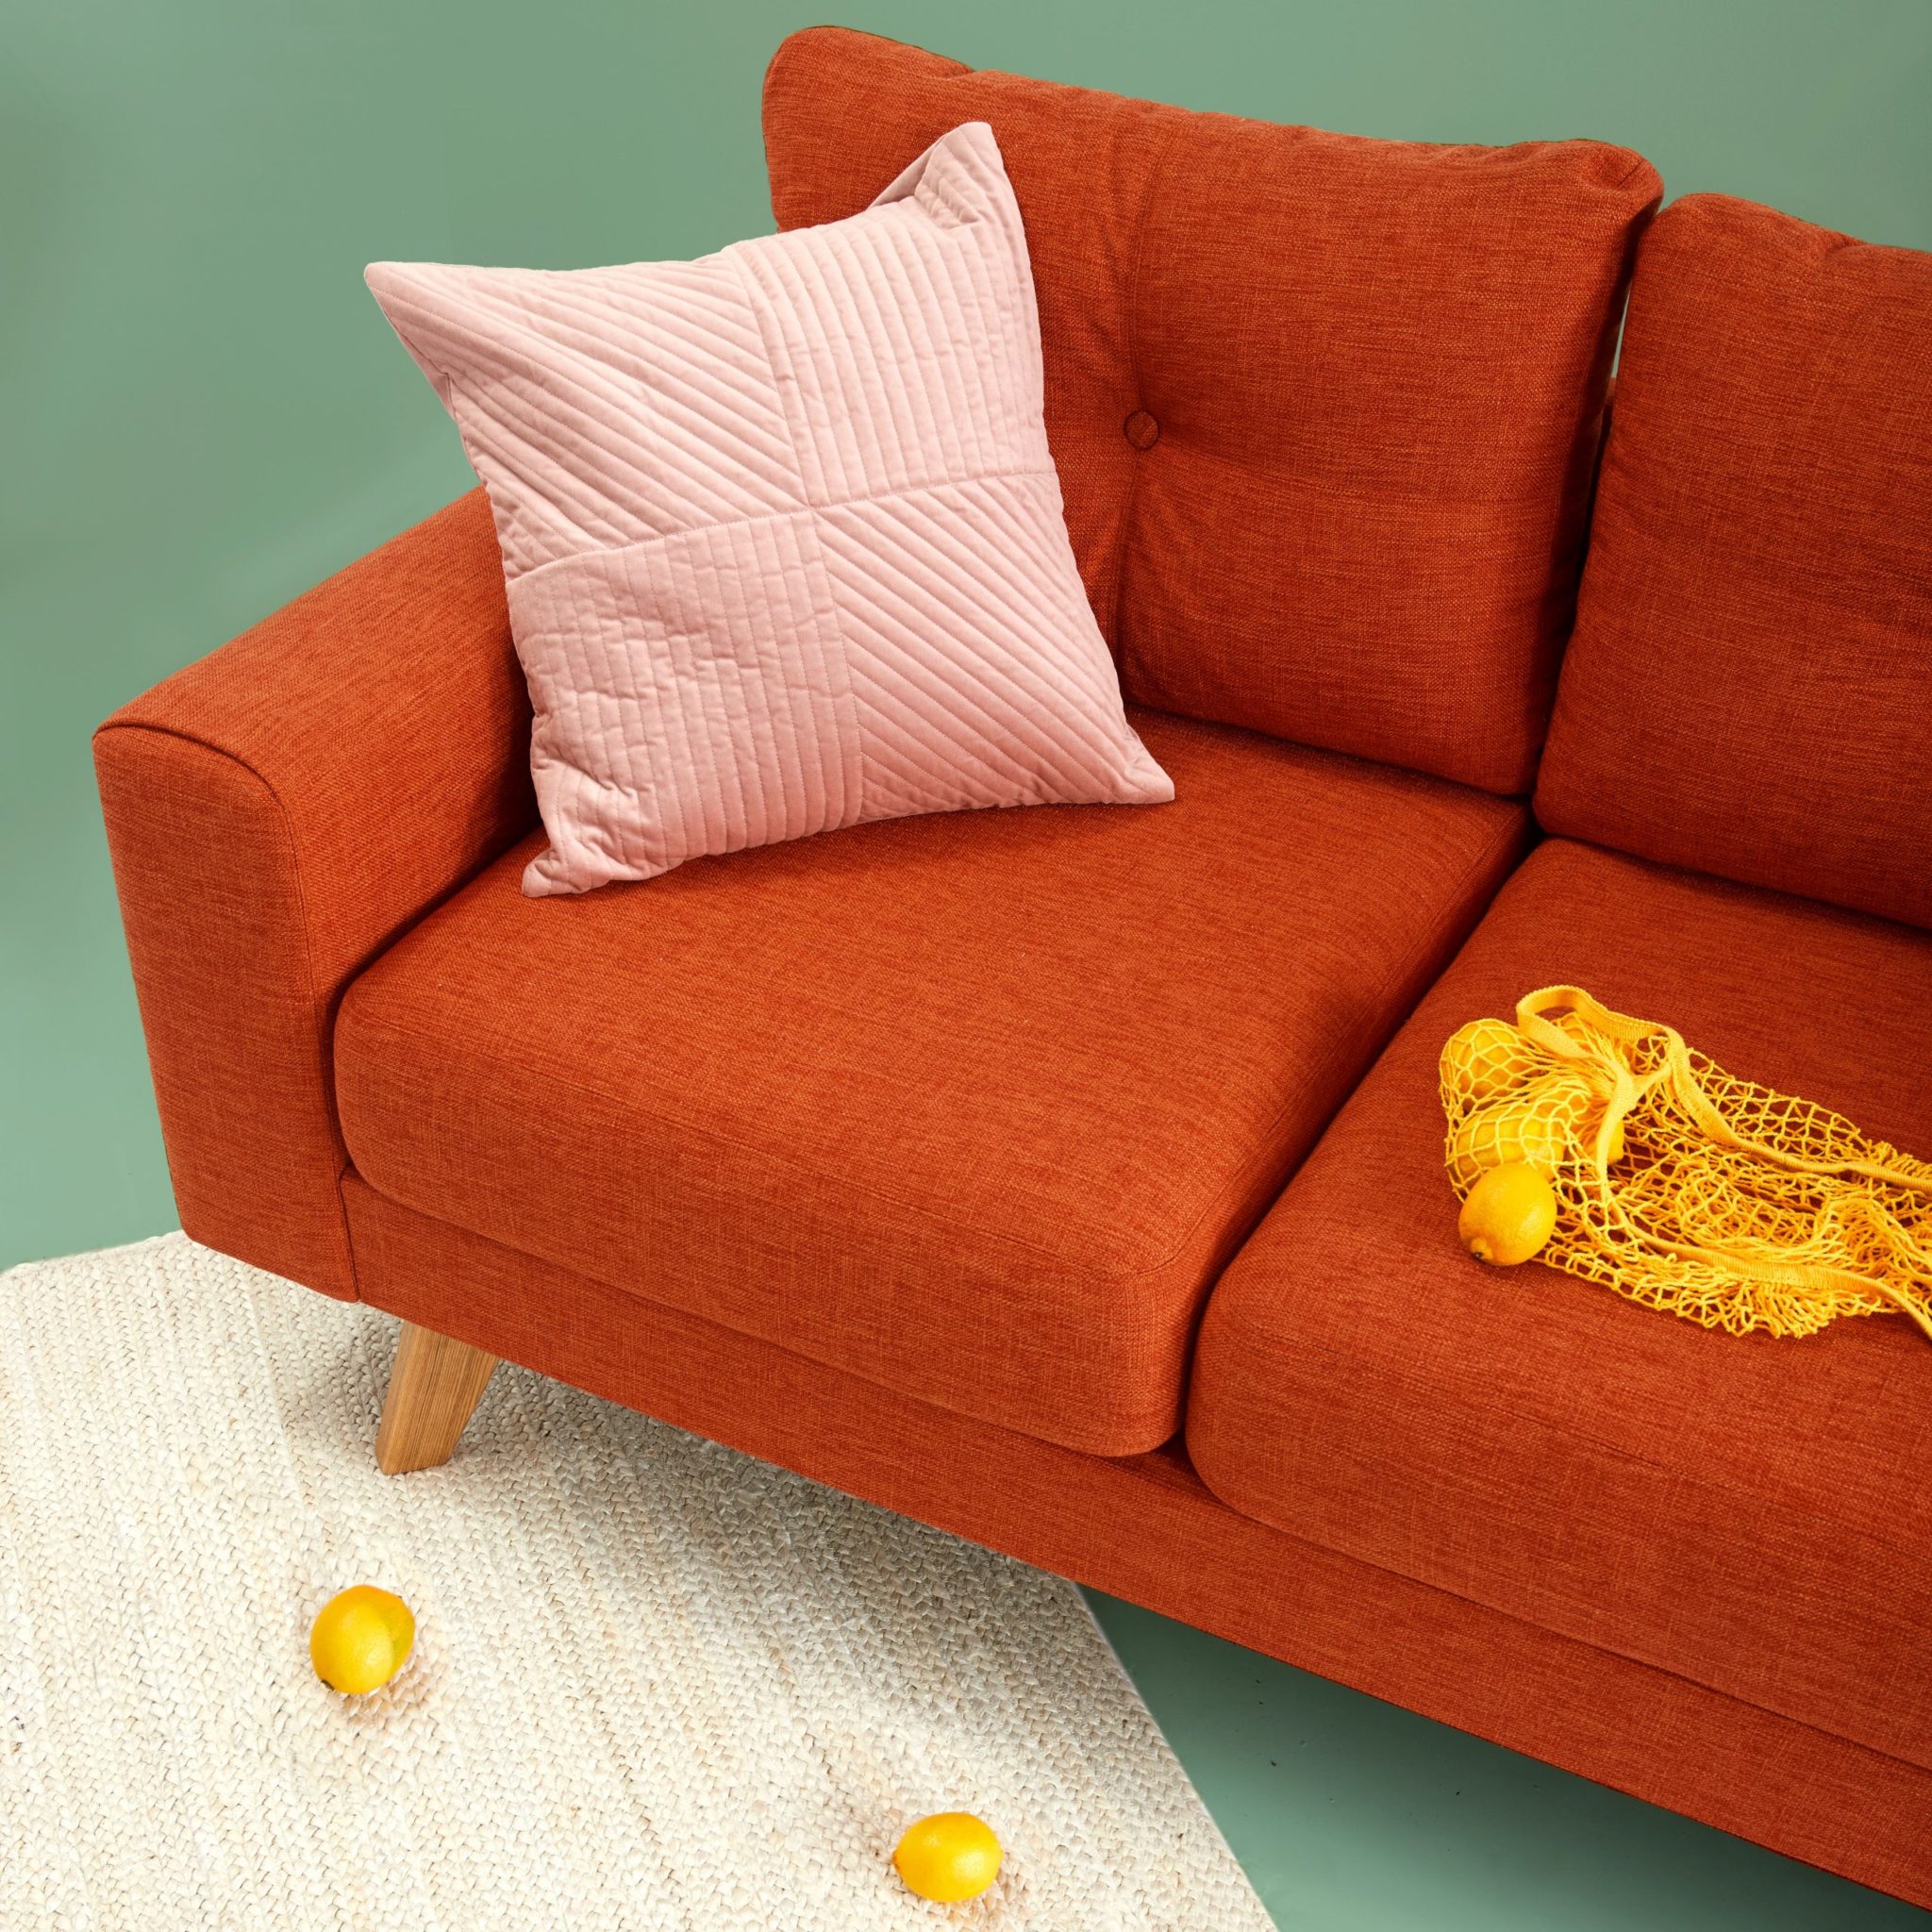
Moodboards are collections of samples of all materials you plan to use in your interiors. The samples are small in size, and usually proportionate to their intended use, so that, at a glance, you get an idea of all the colors and textures in a space.
A moodboard is a very useful tool to get all the right materials and finishes required for the space without making mistakes.
When selecting material for interiors, the amount of choice available in the market is staggering. For example, after you choose between tile and stone and wood for your flooring, there are endless shades, textures and finishes to choose from. What looks the best to you in a showroom need not be the best option when it is in your room. Making a moodboard helps you narrow down your options for purchase.
Moodboards allow you to experiment with colors, textures and styles without spending lots of money. They help you focus and get your ideas sorted out, and more importantly, help you remove unnecessary elements from your interiors. It’s easy to go over the top when doing up a place, and buy all sorts of unnecessary furnishings, so using a moodboard can help you whittle out everything but the essentials.
A moodboard will, apart from visually describing your preferred design style and ideas, allow you to define your color scheme, to select your favorite furniture and lighting, to ensure that everything is in balance and works harmoniously before you spend any money. If you’re going to change your interiors, this is the time to do it, as it can get really expensive once you’ve bought materials.
A moodboard looks something like this:

So how do you start building a moodboard for your homestay?
Once you have a color scheme in mind (in this case warm interiors with a yellow accent) or a favorite piece of furniture, I’d suggest that you start by collecting pictures of rooms that you like from magazines and the web. Soon you’ll have an assortment like this:
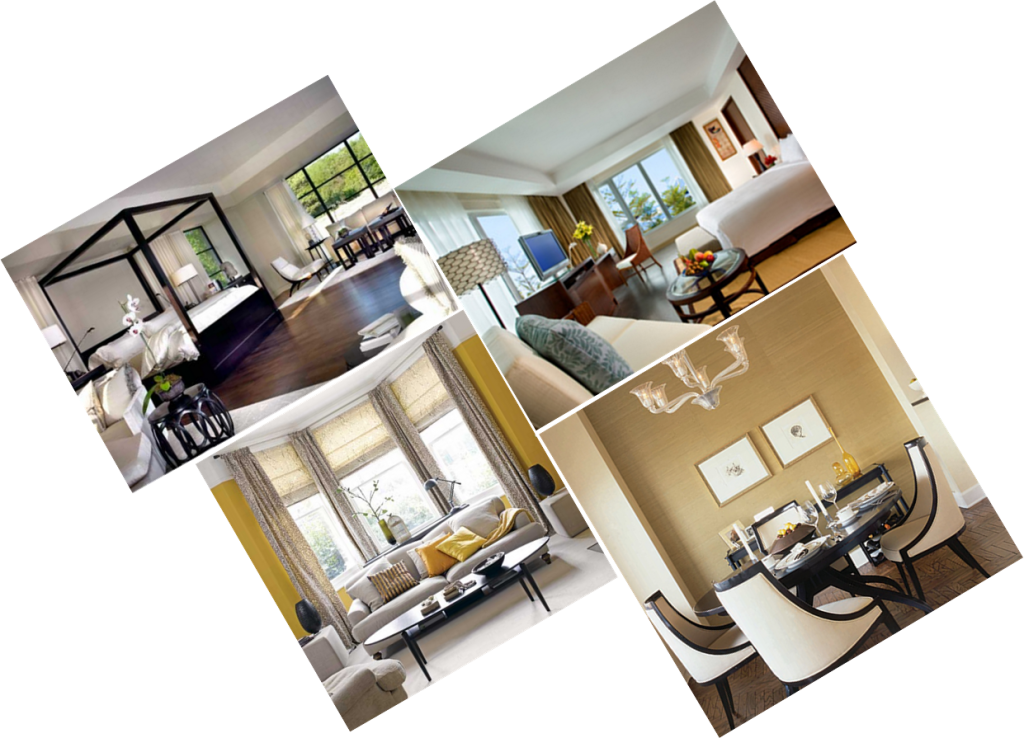
Once you know the look you’re aiming for, start collecting samples of materials. I prefer the hard finishes first – all the flooring and tiling that you plan to use, as well as wood color and texture for furniture. At this stage the moodboard would look something like this:
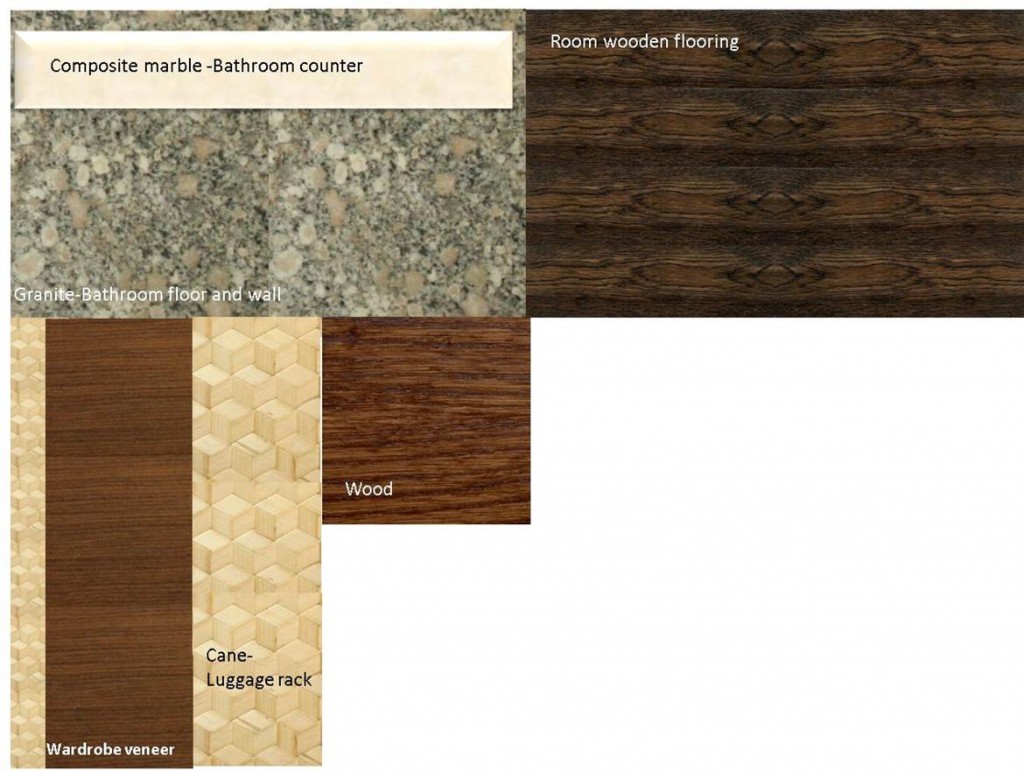
By putting them together like this, it is easy to isolate the correct material for your requirements and which will complement your interiors. When you have selected the first of the hard finishes, carry a sample of it while selecting the rest. You can select two or three options for the same material and finalize it when you have all the samples together.
Now it’s time to select the soft furnishings – the fabrics for your interiors. Take the hard finish samples with you to the shop when doing this, especially the wood and veneer finishes – it’ll help you select matching fabrics.
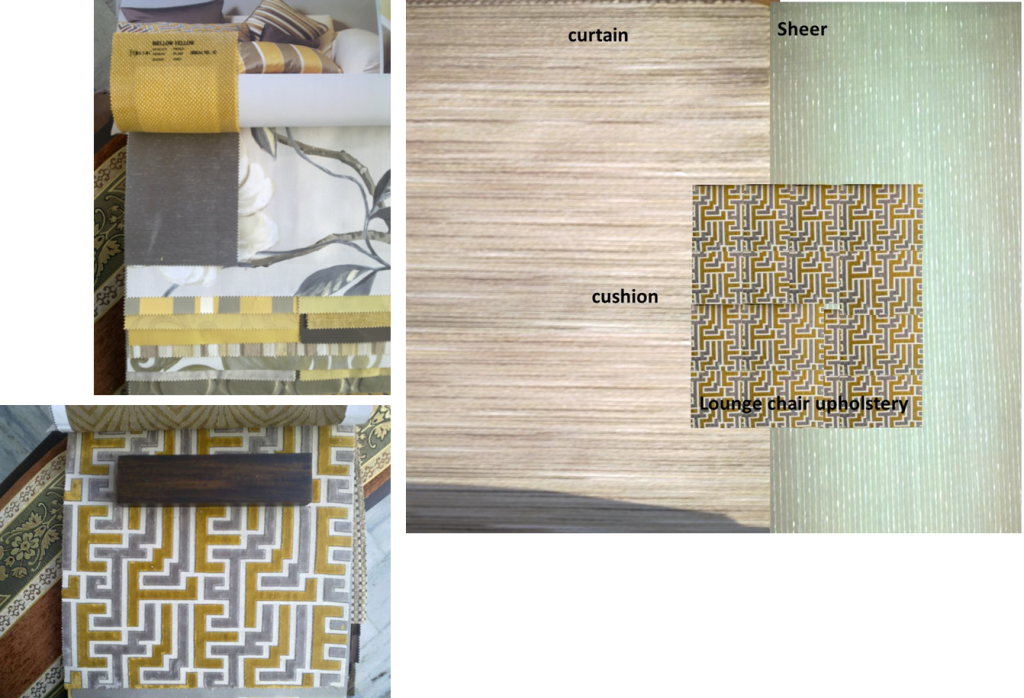
Now put it all together, using your inspiration pictures for guidance. You will find some items jarring or out of place. Replace them with the whatever works best. However, this time when you go shopping, you know exactly what you are looking for. Try to balance the proportion of materials in your moodboard so that they accurately reflect the proportion of each material in your final interiors. If the walls are going to be white, use a white sheet or card as the background for your moodboard.
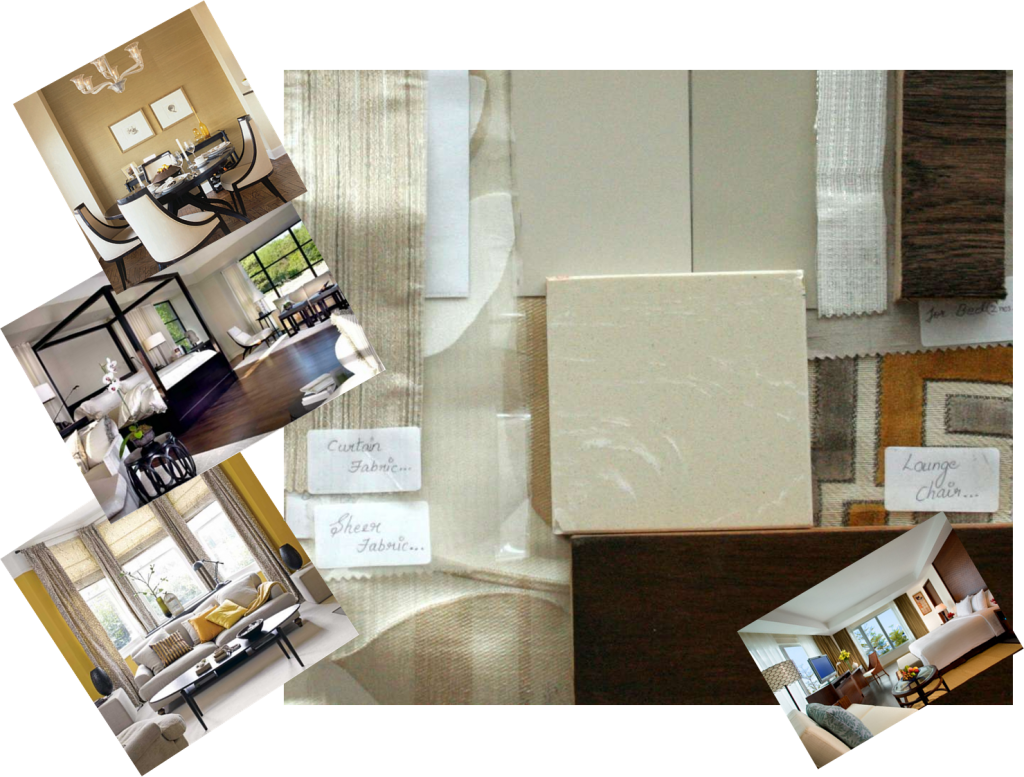
At this point your moodboard will look something like this:
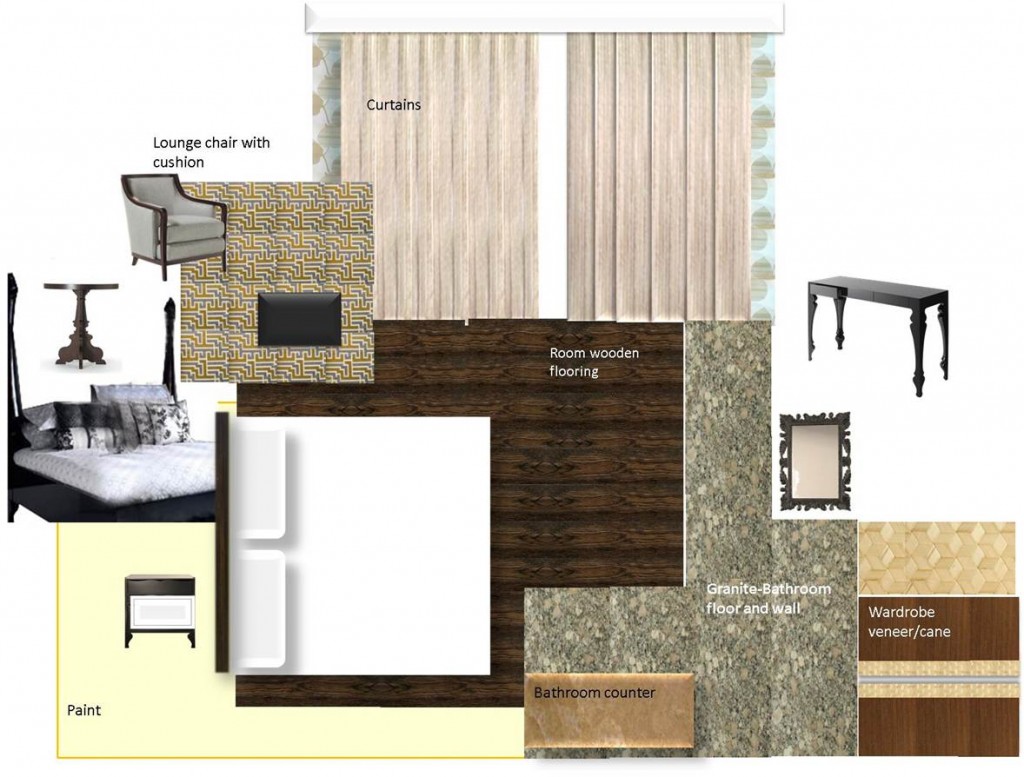
Now select the paint shade and the accent paint (in this case, the headboard wall is yellow, while the rest of the walls and ceiling are off-white) . Selecting the right shade of yellow and white will be easier with the help of the moodboard. Use a color which brings everything together. It is very important to get the paint color right.
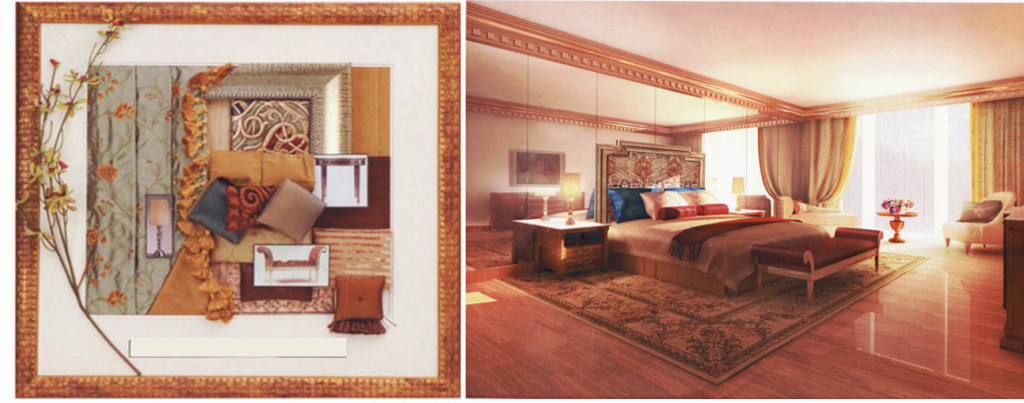
If you’re doing this for your own interiors, this is what you need. For example, this moodboard was made for the following room. See if you can relate the moodboard to the actual room:

On the other hand, if you’re putting a moodboard together to present your ideas to someone – a client, an investor, perhaps – you can make the moodboard itself a presentation. Here is a moodboard that I put together for a hotel guestroom, and the guestroom picture is alongside. Notice that the frame of the moodboard matches the room cornice, and the white mount represents the white paint.
So go get started on your moodboards for your interiors. Send us pictures of the moodboards and the final rooms – we’d be happy to post them for others to see and admire your work!
To get more information & assistance, please submit the form below and our specialist will get in touch with you at the earliest.

